How to Install Artificial Grass: A Step-by-Step Guide
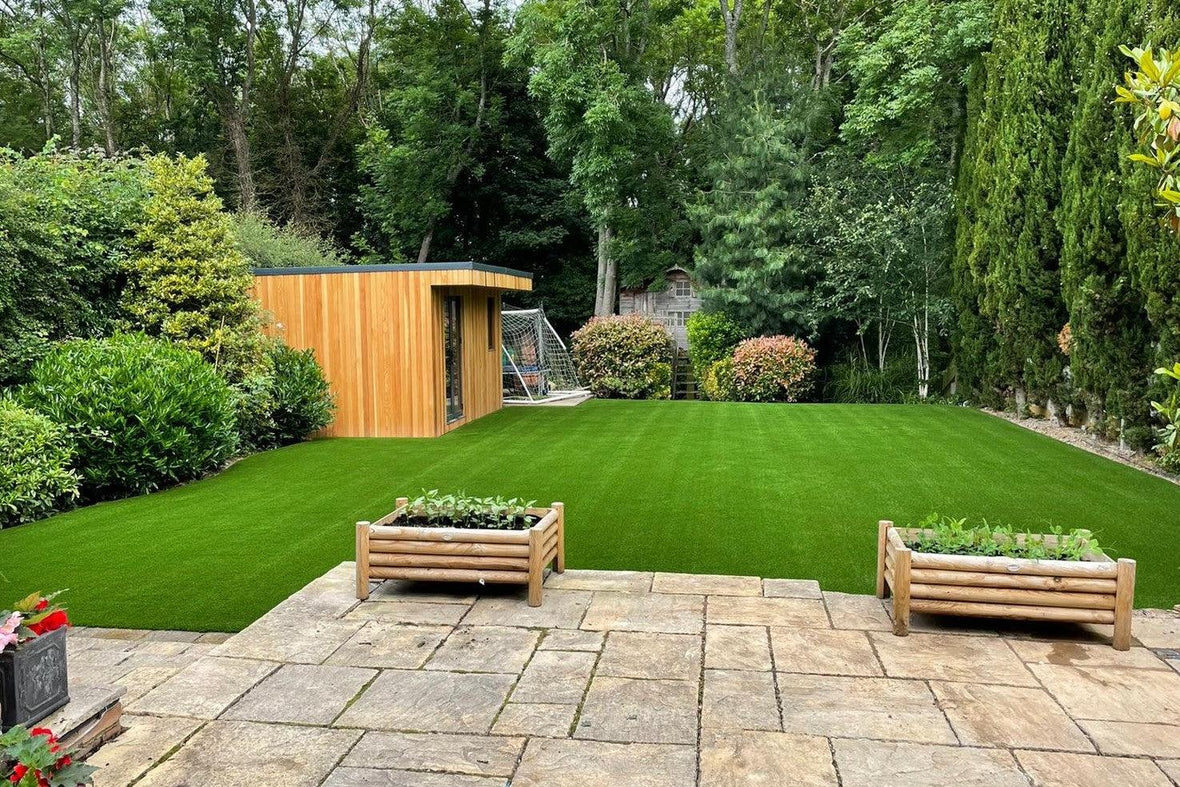
Artificial grass is a fantastic solution for those who want a lush, green lawn without the maintenance of natural grass. Whether you’re looking to spruce up your backyard, create a pet-friendly area, or add some greenery to your balcony, installing artificial grass can be a straightforward DIY project. Follow our step-by-step guide to achieve a beautiful, low-maintenance lawn.
How to Install Artificial Grass: A Step-by-Step Video
Materials You’ll Need:
- Artificial grass
- Weed membrane
- Crushed stone or aggregate
- Sand (optional, for leveling)
- Adhesive or turf tape
- Landscape spikes or U-pins
- Utility knife
- Shovel
- Rake
- Measuring tape
- Broom or power brush
- Garden hose (for cleaning)

Step 1: Measure and Plan
Start by measuring the area where you want to install the artificial grass. Calculate the square footage to determine how much grass you’ll need. Make sure to add a little extra to account for any trimming and fitting.
Step 2: Prepare the Area
Clear the area of any existing grass, plants, rocks, and debris. Use a shovel to dig up the soil to a depth of about 2-3 inches. Ensure the area is free from any obstacles that could interfere with the installation.
Step 3: Install the Weed Membrane
Lay down a weed membrane to prevent weeds from growing through your artificial grass. This will help keep your lawn looking neat and low-maintenance.
Step 4: Add a Sub-Base
Fill the area with crushed stone or aggregate to create a stable and well-draining sub-base. Spread the material evenly across the area and compact it using a plate compactor or a heavy roller. This layer should be about 1-2 inches thick.
Step 5: Level the Surface
If needed, add a layer of sand on top of the sub-base to level the surface. Use a rake to spread the sand evenly and ensure it is smooth and level. Compact the sand to create a firm surface for the artificial grass.
Step 6: Lay Out the Artificial Grass
Roll out the artificial grass over the prepared area. Let it sit for a few hours to allow any wrinkles to flatten out. Make sure the grass fibers are all facing the same direction for a consistent look.
Step 7: Trim to Fit
Using a utility knife, carefully trim the edges of the artificial grass to fit the area. Be precise to ensure a neat and professional finish. If you need to join multiple pieces of grass, use adhesive or turf tape to secure the seams.
Step 8: Secure the Grass
Use landscape spikes or U-pins to secure the edges of the artificial grass. Space them about 6 inches apart along the perimeter and every 1-2 feet in the middle to prevent any movement.
Step 9: Add Infill (Optional)
Depending on the type of artificial grass you’ve chosen, you may need to add infill to help keep the grass fibers upright and provide cushioning. Spread the infill material evenly and brush it into the grass using a broom or power brush.
Step 10: Brush and Clean
Finally, give your new artificial lawn a good brush to lift the grass fibers and remove any debris. Use a garden hose to rinse off any dust or loose infill material.
Maintenance Tips

Artificial grass is low-maintenance, but occasional cleaning and brushing will keep it looking its best. Remove any leaves or debris regularly, and rinse with water to clean. Brushing the grass fibers periodically will help maintain their upright appearance.
By following these steps, you can enjoy a beautiful, green lawn all year round without the hassle of mowing, watering, or fertilizing. Whether you’re enhancing your garden or creating a new play area for your kids and pets, artificial grass is a versatile and durable choice. Happy gardening!